[Home] [Resume] [Work Responsibilities] [Search Page] [IT Menu]

Boot the PC with the Partition Magic disk and then the Partition Magic software will automatically install. If for any reason this doesn't happen or if you would rather boot with your own boot disk first, then do the following afterwards. Insert the Partition Magic disk and enter the following commands.
A:\> DIR To view the files.
A:\> PQMAGIC.EXE To run the application.
At present the hard drive is partitioned into a number of partitions. To delete and Resize we will be using the commands in the Operations menu. We want to divide the partition into the following sizes.
|
LABEL |
FAT |
SIZE Mb |
STATUS |
PRI/LOG |
|
C: Win98 |
16 |
500 |
Active |
Primary |
|
D: WinNT |
NTFS |
1000 |
None |
Primary |
|
E: WinSVR |
NTFS |
1000 |
None |
Primary |
|
F: Linux |
Linux |
1500 |
None |
Primary |
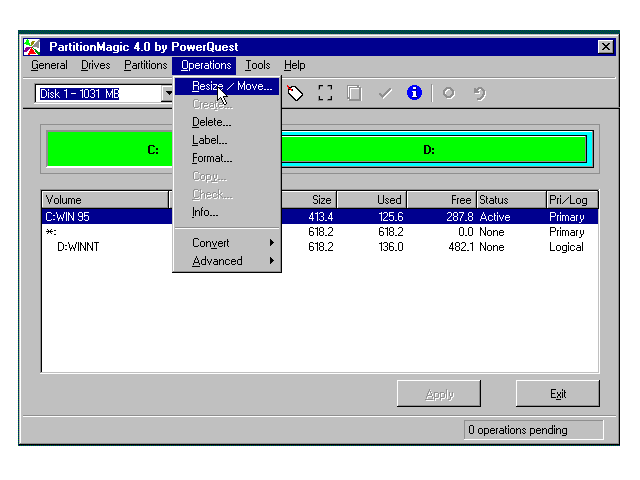
At present the primary C: drive is too big. We need to reduce the size of it.
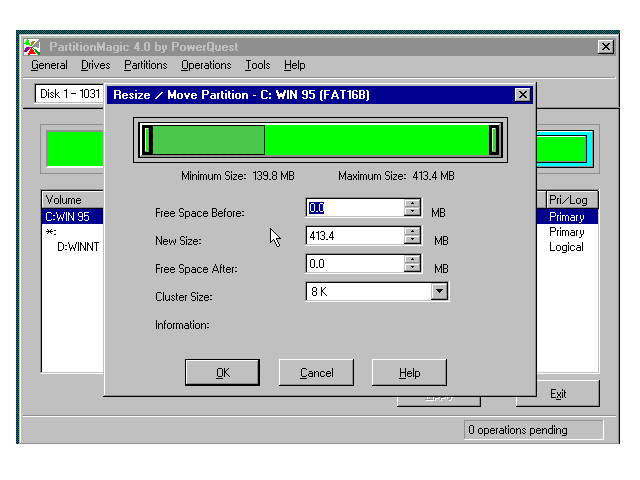
1. Click on the Partition menu option and select partition C:, or click on the area labeled C:
2. Select Operation and then resize/Move. Drag or type in the required size for C:
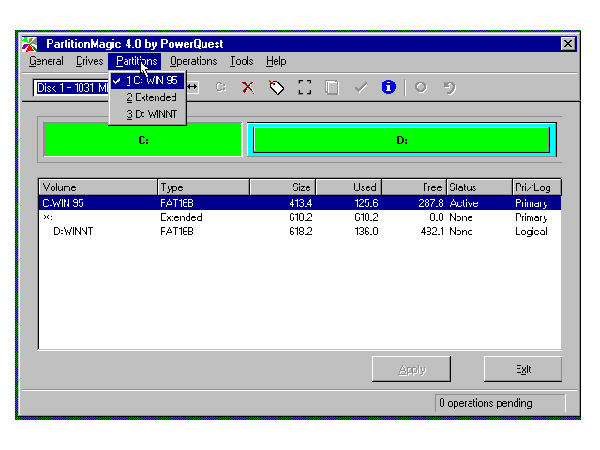
Having reduced the size of C: we now have the free space to enlarge the Extended partition.
1. Select the menu option Partition and select Extended.
2. Select the menu option Operations and again select Resize / Move. Drag or type in the required size for the extended partition. We want to use all the remaining space.
We can now divide the extended partition, into the required logical drives.
1. Select and resize the logical partition D: within the extended partition as previously described.
2. Select the menu option Partition and select Free Space.
3. Select the menu option Operations and select Create.
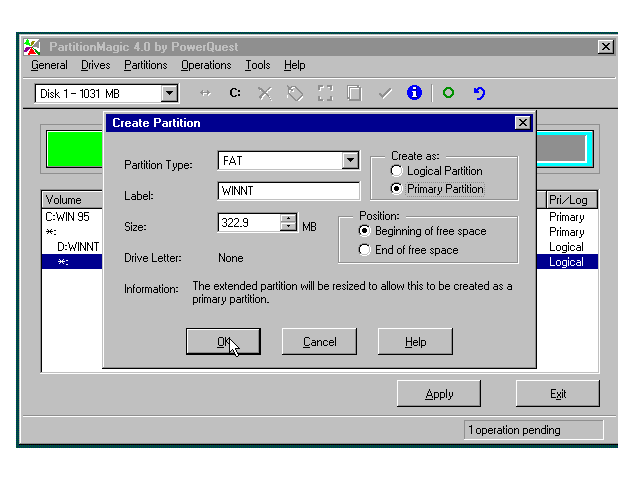
4. Select the Partition Type being FAT. Create as Primary Partition. Size accordingly and position at the Beginning of free space. The Drive Label will be WinNT
Repeat the previous operation of creating of a new logical partition for the final partition. This Drive Label will be Linux and the Partition Type will be Linux Ext2.
Having set up the drive as detailed in the table at the top of this document. All that is then required is to select the apply button. The physical partitioning and the selected formats will be implemented.
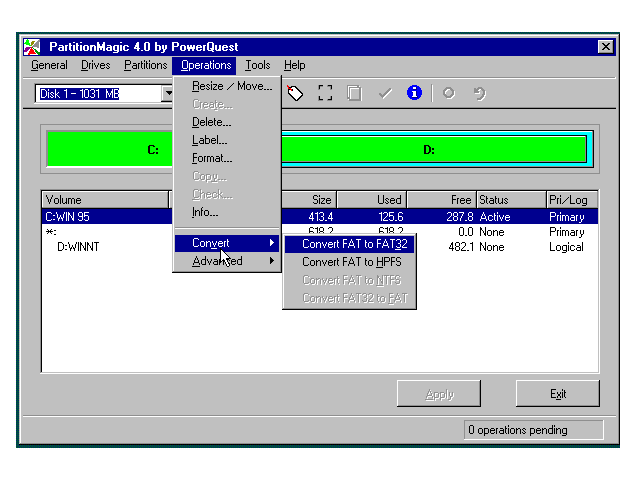
There application can do a number of other things that we did not require of it on this occasion. For example it can convert File Allocation Tables (FATs).
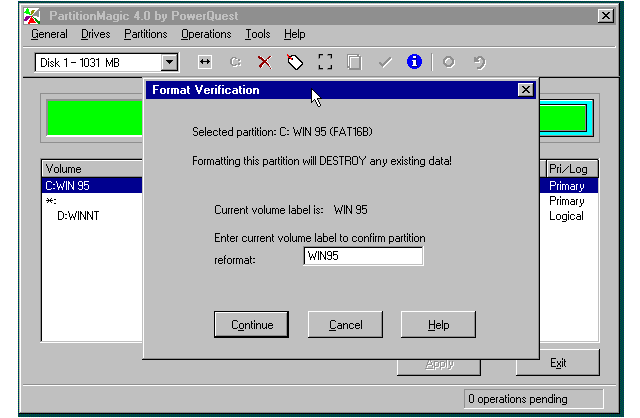
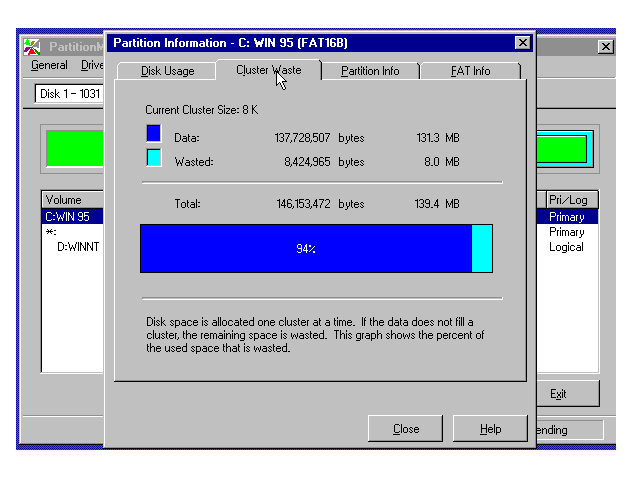
It can also provide valuable information on the state of each partition.